


SUBSCRIBE!
Join my mailing list and be the first to get my recipes, discounts to brands I love and more! I promise not to spam you.

*Macros are provided as an estimate for convenience. Your final numbers will vary depending on ingredient brands, substitutions, and how you portion the recipe.
4 Responses
hi! I’m excited to try this but idk what oat cookies are haha. Are they oatmeal cookies?
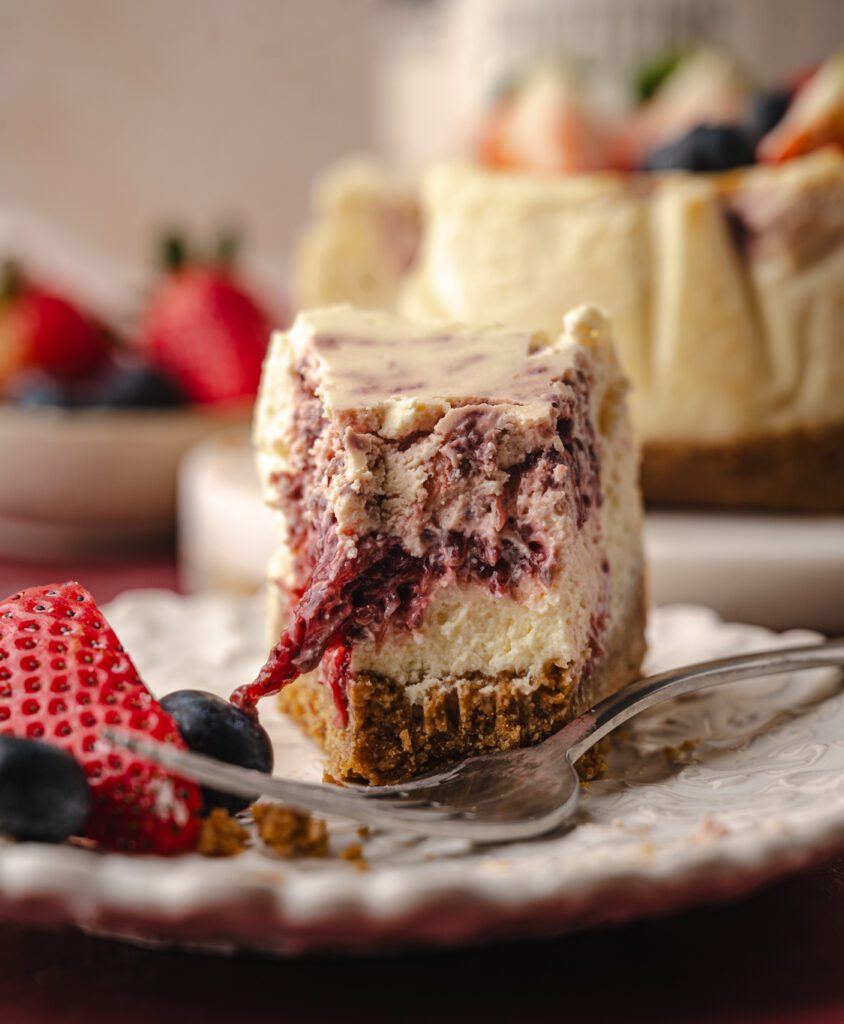
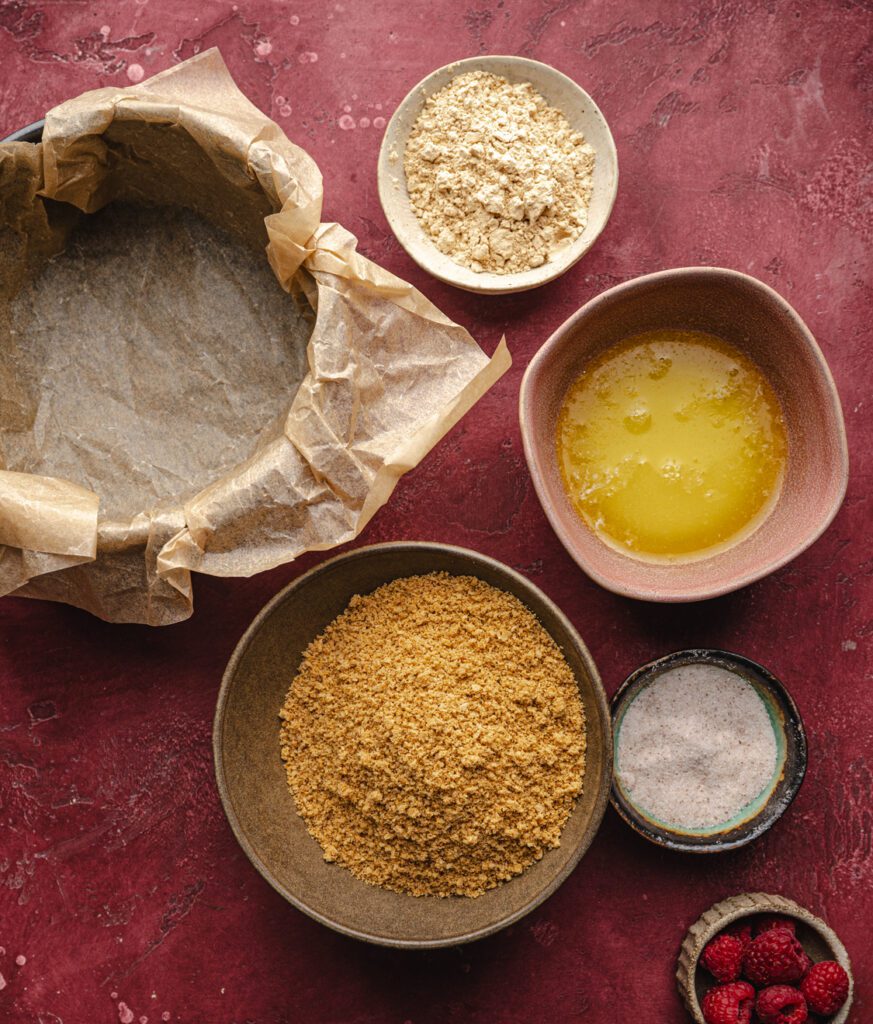
Hi Ashley! I use Nairns Oat biscuits but graham cookies work too! Use your fave biscuit to create the crumbs. I hope That helps! xx
https://a.co/d/0i9OKRUm
cannot wait to try recipe
Omg its a keeper for sure!