SUBSCRIBE!
Join my mailing list and be the first to get my recipes, discounts to brands I love and more! I promise not to spam you.
Home » Kitchen Sink Cookies
This post may contain affiliate links
Get ready to fall in love with your new favourite holiday cookie. This is the BEST Kitchen Sink Cookies recipe you are going to find on the internet! They are so easy to make, super delicious, festively made and perfect for cookie exchanges, Santa or just spreading some joy. Did I mention that they are egg free and require no fridge time for chilling? This no-fuss, egg-free cookie recipe is the perfect addition to your festive baking lineup and will be eaten up in no time – they’re cute, filled with your favourites and super easy to customize. Whether you’re planning ahead or need a last-minute dessert, these cookies freeze beautifully and can be made well in advance, ready to delight your guests when the holidays arrive.
One of my absolute favourite brands, Nature’s Path Organic has launched 2 new flours in the USA and for this Festive Kitchen Sink Cookie recipe, I used their All-Purpose Flour. The quality of this flour was so superior to all the flour I have worked with in the past. Organic Canadian hard red spring wheat is crafted into a light, smooth white flour with a high-gluten strength. Exceptionally versatile, it’s a quality solution for recipes that ask for ‘flour’ or ‘all-purpose flour’, including cookies, muffins, bread, and beyond.
What I love most about these cookies is their versatility and how forgiving they are. If you want to make these cookies vegan it’s as easy as swapping out the dairy butter for a plant based alternative. As many of you know, the mister cannot have gluten so I also made a batch of these with Nature’s Path’s new gluten-free flour and they turned out just as deliciously! Each cookie can be customized with more or fewer add-ins, making it the perfect baking project to get the kiddos involved. Plus, let’s be honest – half the fun of making these is sneaking bites of the irresistible cookie dough! So, gather your ingredients, and let’s get baking—just try to show some restraint!
Kitchen sink cookies get their name because they include everything but the kitchen sink! These cookies are loaded with a variety of mix-ins like chocolate chips, pretzels, nuts, or truly, whatever your heart desires. The beauty of kitchen sink cookies is that you can customize them with whatever you have on hand, making them perfect for clearing out your pantry and creating a unique and delicious treat. No two cookies are the same and that’s kind of what makes them most exciting and addictive!
The best part about kitchen sink cookies is their versatility! You can mix in just about anything you love. For a classic combination, try using a mix of white chocolate chips, dark chocolate chips, and pretzels for a sweet and salty contrast. Toffee bits, pretzel pieces, potato chips, graham crackers or caramel bits are all amazing additions to personalize your kitchen sink cookie. The best part about them is that you can use whatever you have on hand, you don’t need to go out and buy a bunch of new ingredients.
Fun and easy is the name of the game with these cookies. Follow these simple instructions to make your own kitchen sink cookies right at home!
Preheat your oven to 375°F (190°C). Line two baking sheets with parchment paper and set them aside. This will ensure your cookies bake evenly and don’t stick to the pans.
In a large mixing bowl, add the room-temperature unsalted butter, brown sugar, and white sugar. Using a stand mixer, electric beaters, or by hand, cream the mixture together until it becomes light and fluffy. This step is crucial for creating the perfect cookie texture. Once creamed, add the flax eggs and vanilla, and continue mixing until well combined.
In a separate bowl, whisk together the all-purpose flour, baking soda, cinnamon, and salt. Gradually add the dry ingredients to the wet mixture, mixing slowly to combine. Be sure to scrape down the sides of the bowl and the paddle attachment to ensure all ingredients are well incorporated.
Fold in your chosen mix-ins using a spatula. Scoop the dough into balls using an ice cream scoop and place 5-6 balls evenly spaced on each prepared cookie sheet. Bake the cookies for 12 minutes or until they turn golden brown. Carefully transfer the cookies to a cooling rack and finish with a sprinkle of flaky sea salt for garnish.
These cookies are perfect for making ahead! Once baked, allow them to cool completely, then store them in an airtight container at room temperature for up to a week. If you want to freeze them, place the cooled cookies in a single layer on a baking sheet and freeze until solid. Transfer the frozen cookies to a freezer bag, and they’ll keep for up to three months. When you’re ready to enjoy them, just thaw at room temperature or warm them slightly in the oven.
If you liked this recipe make sure you leave a comment and review below!
Food Photographer and Recipe Developer based in Toronto, Canada.
Join my mailing list!

*Macros are provided as an estimate for convenience. Your final numbers will vary depending on ingredient brands, substitutions, and how you portion the recipe.
Join my mailing list and be the first to get my recipes, discounts to brands I love and more! I promise not to spam you.
4 Responses
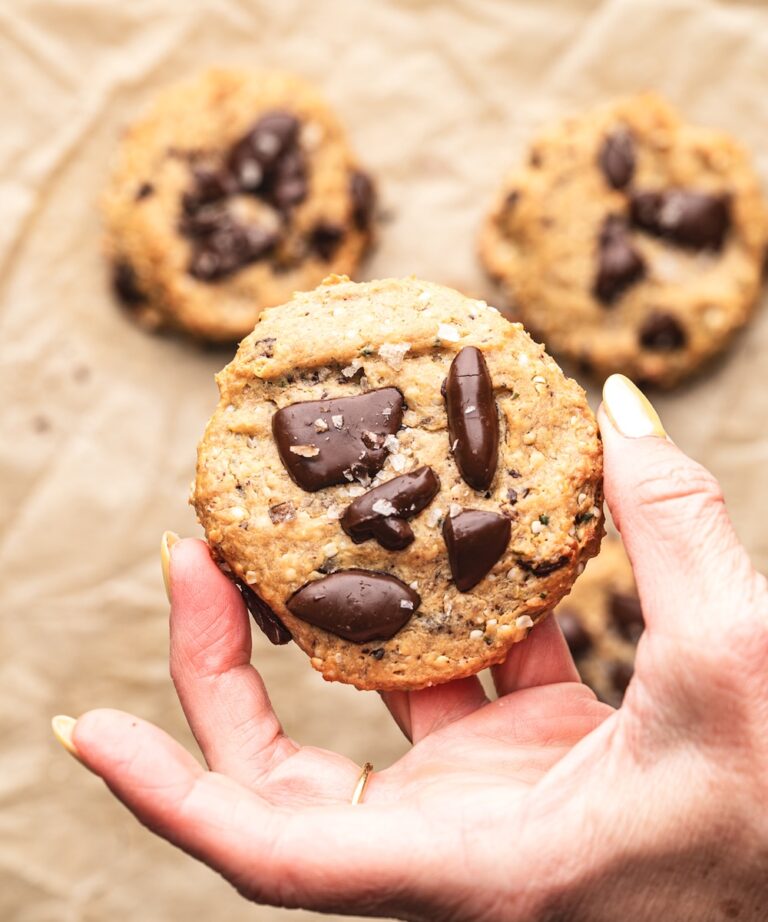
These are easy and delicious! I love how customizable they are with the mix-ins! They have been on repeat here! Happy 50th Bday and Happy Holidays!
Hey Shelly! Thanks so much for taking the time to rate and review 🙂 Thank you for the wonderful wishes and so glad that you tried these cookies <3
Can the batter be made ahead of time and refrigerated until ready to bake?
100000000%!!!