


SUBSCRIBE!
Join my mailing list and be the first to get my recipes, discounts to brands I love and more! I promise not to spam you.

*Macros are provided as an estimate for convenience. Your final numbers will vary depending on ingredient brands, substitutions, and how you portion the recipe.
8 Responses
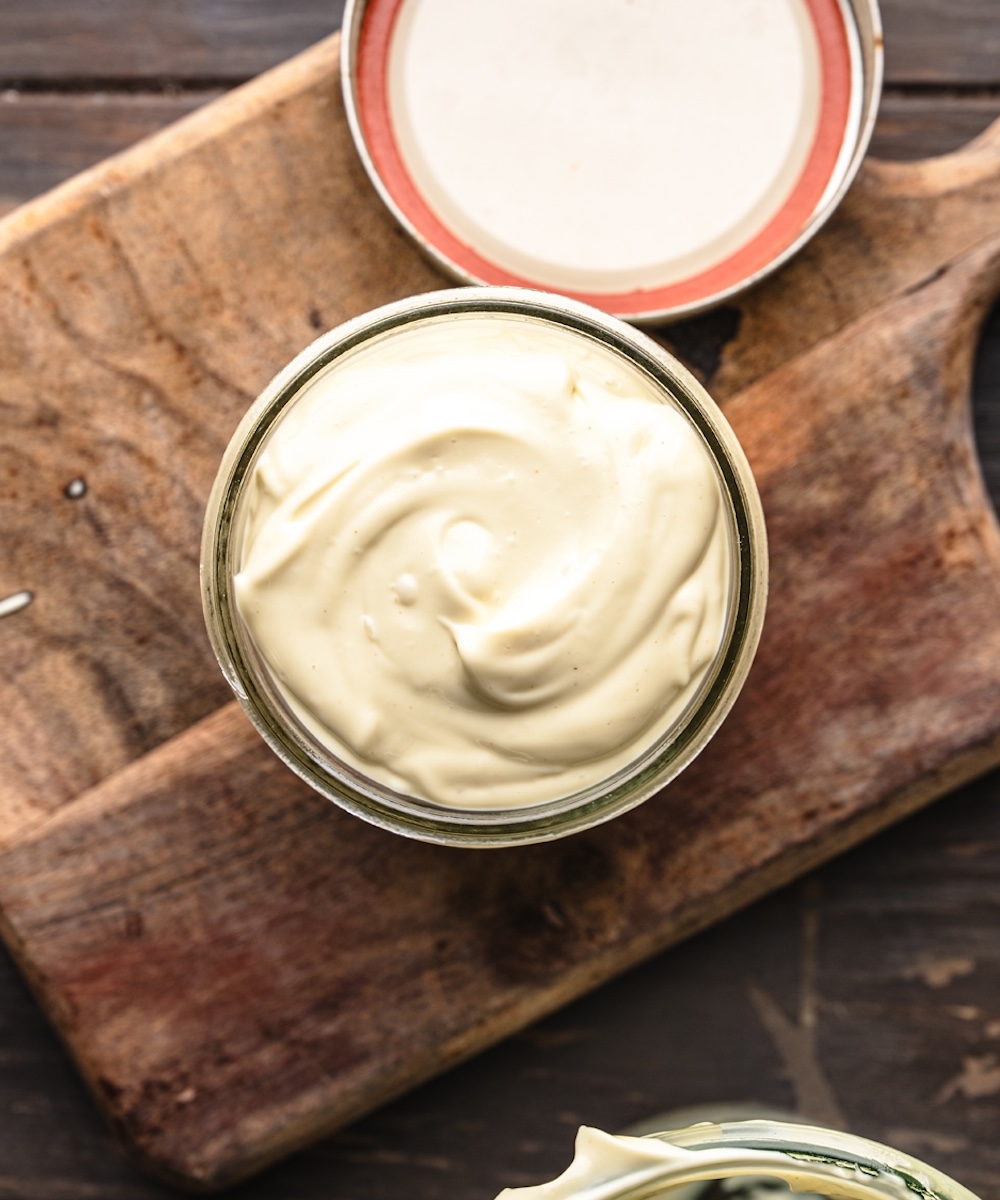
Perfect ! I’ve just did it and it’s delicious.
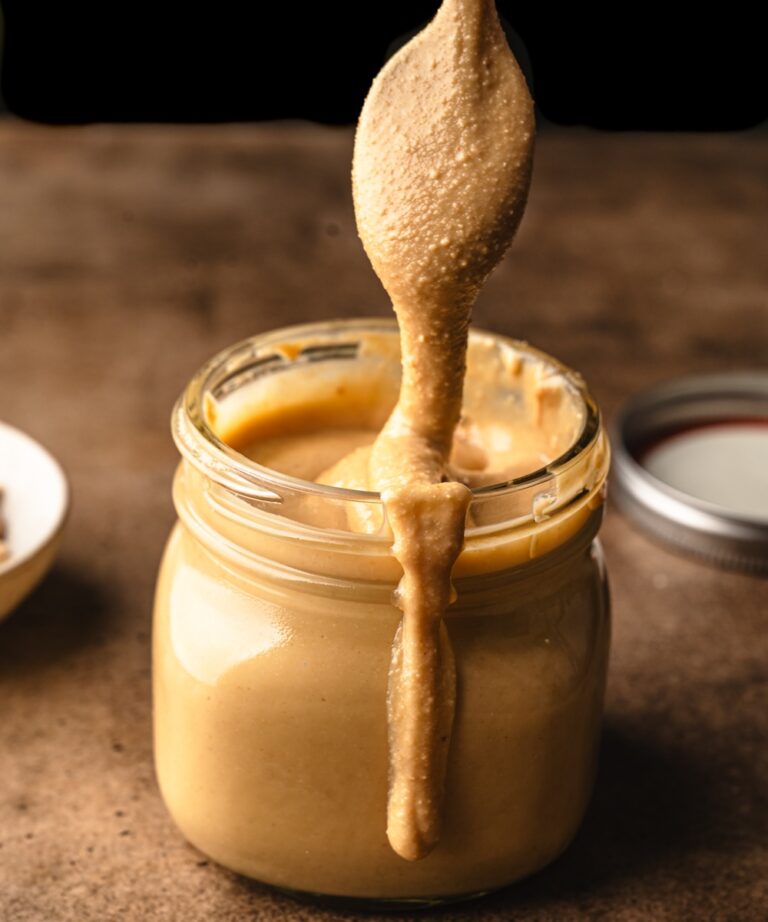
It will not last 2 weeks for sure!
I knowwwwwwww. You will be smearing that on everything!
Just made and it is delicious!
Yay!! Please rate the recipe if you have a moment! xx
sun flower butter is wonderful. this is the second time I’m making.
Hi Cathy!! I am thrilled you love it. Can you please rate the recipe?
Thank you for this delicious sunflower seed recipe! It is a game changer and far superior than store bought. I’ve tried other recipes and this one is top notch.
That’s the best review. Thank you!